Showing posts with label Linux. Show all posts

How to install Raspberry Pi operating system Noobs. In this tutorial, we will going to use a Windows 7 computer. You can also watch the video of this tutorial.


What you'll need:

Step 1:
Download the Noobs image from their website. Later at step 4, you have to extract this file, copy and paste all extracted files on your SD card.

Step 2: 
Download the SD Card Formatter and install it to your computer. Run the software after installation.

Step 3:
Insert your SD card in your computer. Select the drive letter of your SD card. Remember, this process will wipe out your SD card files. Once ready, click format button.

Step 4: 
Extract the Noobs image file. Copy all the extracted files (shown below image) and paste it all on your SD card (root directory).


Step 5: 
Remove your SD card from your computer and insert it in your Raspberry Pi. Please ensure that you have a good power supply for Raspberry. The device require 5 volts with 1amps or more (2amps is recommended.) Use a high quality usb cable in order for your Raspberry pi works properly. Tablet chargers are good choice. Plug your usb charger to power up the raspberry pi.
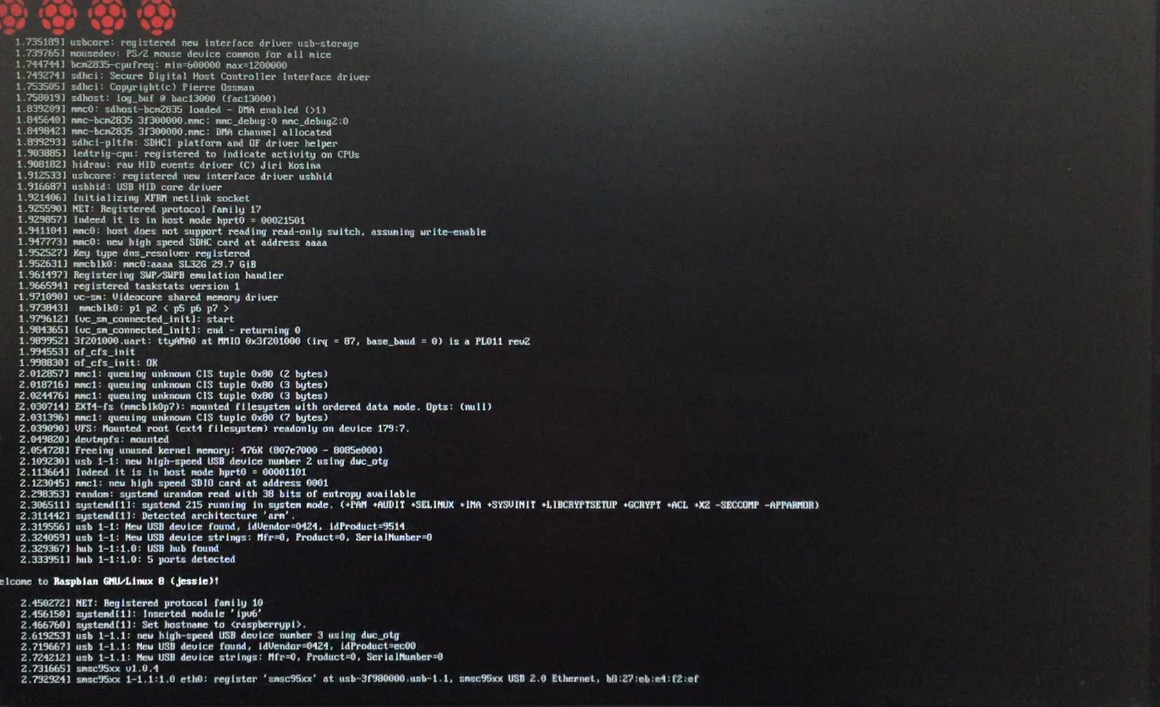
This screen shows your raspberry and sd card works.
If your screen doesnt show anything, it may have power shortage problem or SD card has no properly installed operating system.

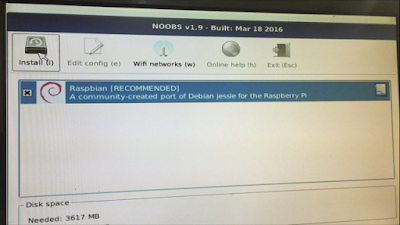
Select or tick the Raspbian and click Install

Click yes to proceed the installation. This may took more than 8 minutes of installation
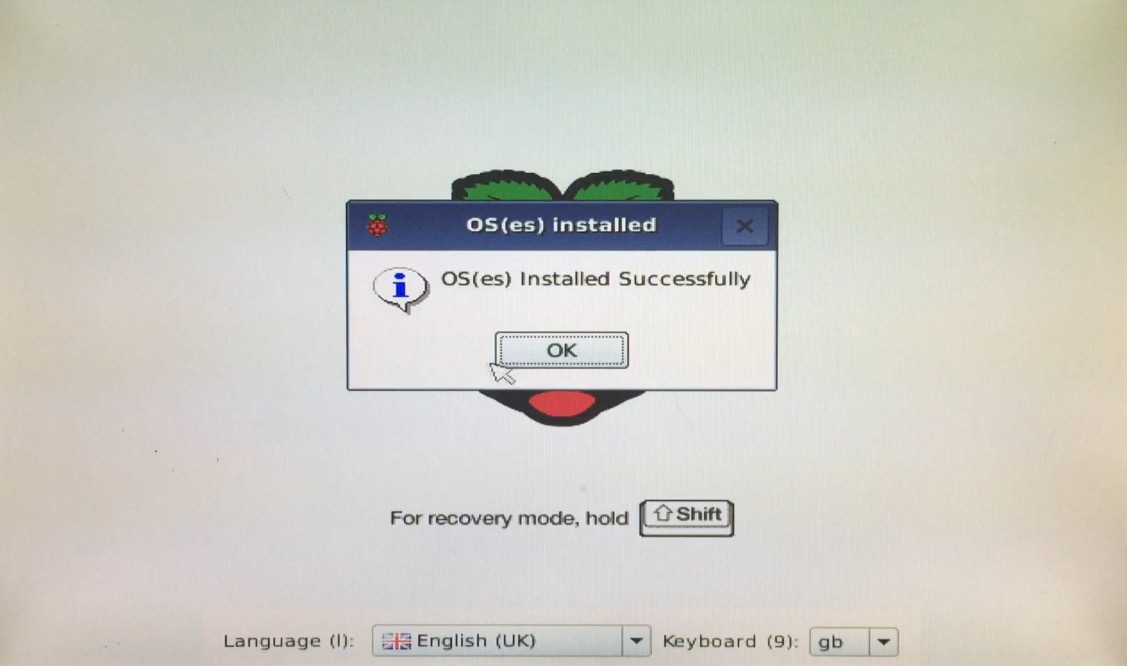
Click Ok and the system will restart
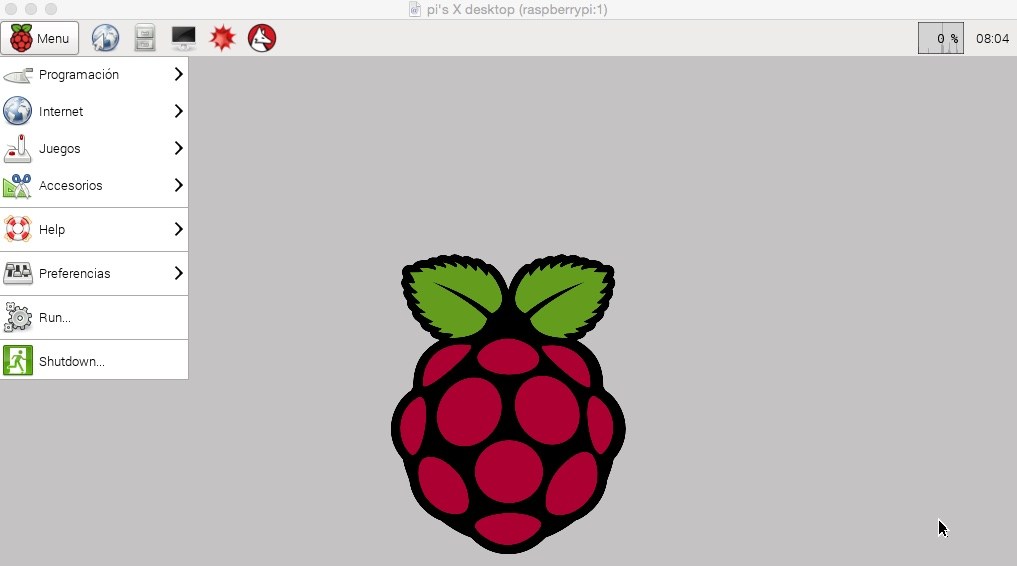
This is your Raspberry pi Noobs desktop environment

Step 6:
Update your system by pressing ctrl+alt+t to open the Terminal. Type the following command

sudo apt-get update

sudo apt-get upgrade

Congratulation! You have your Raspberry Pi with NOOBS desktop environment.
Add User and Grant Root Privileges on Ubuntu. This tutorial we will learn how to Add user and grant root privileges so you could send command like a root user. Before starting, you should be logged as root user. Add a user
adduser demo
It will prompt you to enter the user details. Its optional. You can press [enter] till the last to skip Grant root privilege to demo user
visudo
Find the following code and paste the 3rd line
# User privilege specification
root ALL=(ALL:ALL) ALL
demo ALL=(ALL:ALL) ALL
Save the changes by pressing ctrl+o and exit ctrl+x You can now run command as root by using the command sudo following the command. Example :
sudo chmod 777 test_folder
sudo visudo
Create Ubuntu 14.04.4 server on Virtualbox. In this tutorial, you’ll learn how to install Ubuntu server in Virtualbox. It’s easy. You can do it yourself.
You’ll need:

Watch the video to preview how you should install the server:

Now lets get started. Install Virtualbox in your system and open it.
  • Click New
  • Name: MyDemoVM
  • Type: Linux
  • Version: Ubuntu (64bit)


  • On Memory Size, leave default and click next
  • On Hard disk, select Create a Virtual hard disk now and click create
  • Hard disk file type, select VDI and click next
  • Create Virtual Hard disk, select Dynamically allocated and click next
  • File location and size, leave default and click create

Select your VM MyDemoVM and click Settings
  • Click Storage >> Controller: IDE (Empty) >> Optical Drive >> Click the disk on the right
  • Locate your downloaded Ubuntu 14.04.4 server ISO file. This will mount the iso to the drive. Click Ok

Finally, start the new Virtual machine. It should boot to Ubuntu installation


  • Create your password
  • Use weak password? Just select Yes
  • Encrypt your home directory? Select No
  • Time Zone, select Yes
 
 
  • Partition Disks, just leave the default and select continue
  • Write the changes to disks? Select Yes
  • HTTP proxy information. Just leave blank and select continue
  • No automatic updates and press enter
  • On Software selection, just press enter
  • Install the GRUB boot loader on a hard disk, select Yes
  • Finish the installation, select Continue and VM will restart
  • Ubuntu console will load. Enter your username demo and password
Desktop environment for Ubuntu 14.04 server This guide will tell you how to setup Desktop environment and a VNC server on an Ubuntu 14.04 server. The server will use a fast lightweight remote service – TightVNC package. After this, the next tutorial will explain how to connect to the server remotely and securely through SSH tunnel.
Prerequisites
  • Ubuntu 14.04 Server
  • Root Privilege

How to Install Desktop Environment and VNC server

First we have to get XFCE, TightVNC Packages. Do the following:
sudo apt-get update
sudo apt-get install xfce4 xfce4-goodies tightvncserver
In this tutorial, we will use demo as user. To add new user, do the following:
adduser demo
Giving permission to demo user:
visudo
Find the line # User privilege specification
Below the line root ALL=(ALL:ALL) ALL , paste the following line:
demo    ALL=(ALL:ALL) ALL
Save the changes by pressing ctrl+o and exit ctrl+x

Login to your user account that will be used to connect remotely.
su demo
Set VNC password
vncserver

Lets start configuring the VNC Server

vncserver -kill :1
mv ~/.vnc/xstartup ~/.vnc/xstartup.bak
nano ~/.vnc/xstartup
Insert this code:
#!/bin/bash
xrdb $HOME/.Xresources
startxfce4 &
Save it by pressing ctrl+o, then exit ctrl+x

Grant executable privilege:
sudo chmod +x ~/.vnc/xstartup
Create a VNC service file
sudo nano /etc/init.d/vncserver
Paste the following code. If you are using different user, please change the line 3.
#!/bin/bash
PATH="$PATH:/usr/bin/"
export USER="demo"
DISPLAY="1"
DEPTH="16"
GEOMETRY="1024x768"
OPTIONS="-depth ${DEPTH} -geometry ${GEOMETRY} :${DISPLAY} -localhost"
. /lib/lsb/init-functions

case "$1" in
start)
log_action_begin_msg "Starting vncserver for user '${USER}' on localhost:${DISPLAY}"
su ${USER} -c "/usr/bin/vncserver ${OPTIONS}"
;;

stop)
log_action_begin_msg "Stopping vncserver for user '${USER}' on localhost:${DISPLAY}"
su ${USER} -c "/usr/bin/vncserver -kill :${DISPLAY}"
;;

restart)
$0 stop
$0 start
;;
esac
exit 0
Save it by pressing ctrl+o, then exit ctrl+x

Now make this code executable:
sudo chmod +x /etc/init.d/vncserver
sudo service vncserver start
Every time you restart your server, you have to run sudo service vncserver start

Some may wish to always do this manually just to save server memory. You can start the vnc service only when needed.

But if you wish to run the service automatically, the step is mentioned in the next tutorial: Remote Ubuntu Desktop Environment using VNC Client

In the next tutorial, we will explain how to connect to the server remotely and securely through SSH tunnel.

Remote Ubuntu Desktop Environment using VNC Client through SSH tunnel. In this tutorial , you will learn how to remote your Ubuntu Desktop Environment using VNC Client through SSH tunnel. This is a continuation of the earlier post about setting up Desktop Environment for Ubuntu 14.04

This tutorial uses Windows computer. As the continuation of this tutorial, we will use demo username to login remotely to our server.
Prerequisite:
  • Putty software
  • VNC Client software

Setup your putty connection

We need to create SSH connection on your local computer

1. On Putty under host name, type the server ip address or domain name
2. Under Saved Sessions, type the name of this connection (any name, its up to you)
3. On the left panel, you see Category. Go to Connection >> Data >> Auto-login username >> type your username (demo)
4. On Connection >> SSH >> Tunnels>> Enter the following details


A. Source Port: 5901
B. Destination: localhost:5901
C. Click Add button
After adding this setting, you should see this on the listbox:
L5901 localhost:5901
Don’t click Open button yet or you’ll loose your setting.
5. On Category >> Session. On the right, click Save button
6. Then click Open to start the connection connect.
7. Login to your server by typing your password

Remote your Ubuntu 14.04 Server

Open your VNC client software. On VNC server text box, type localhost:5901


Click Connect button and enter your VNC Password
If you see below image, Congratulation!!! You just connected to your server.


In the previous tutorial, we mentioned every time we restart the server we should run sudo service vncserver start. This may give you an option to run the service only when needed just to save memory.
But if you wish to run the service automatically run the following code on your server console:
sudo update-rc.d vncserver defaults

Set SSH public key authentication to increase the security of your server. Login to it will require a private SSH key making your server more secure.
Prerequisite software:

Generate SSH key

  • Run Putty Key Generator
  • Click Generate
  • Move your mouse randomly over the blank area till the progress bar finish.
  • [Optional] Once key is generated, under the key comment textbox, add any word you like. Its recommended for you to remember what this key is about.
  • Protect your SSH key by adding a password or any word you’d like under Key passphrase and confirm passphrase. This will serve as your password to the SSH key so please remember it.
  • Click Save Public Key to the folder you like and name it as MySSHkey.ppk Keep this file.

Setup the Auto Login with SSH key using Putty

  • Run Peagent
  • On your systemtray, you can see Peagent. Right click and add Key and locate the folder where you save your SSH key (MySSHkey.ppk) and open it.
  • Enter your Key passphrase

Set your Putty to connect to your server


  • On Host name, enter your server’s ip address or the domain name.
  • On Saved Sessions, enter any name you want for this session
  • On the left side under Category list, click Data. Enter the Username (demo) on Auto-login username
  • Click Session under the Category and Click Save Button
  • Click Open. Enter the password. We’re not done yet.

Add the public key to the remote user

On the putty console and User(demo) is logged
1. Ensure that you have access to the user directory
sudo chown -R demo /home/demo

It may ask you to enter root password
2. Ensure you are in /home/demo directory
cd
3. Create .ssh Directory and restrict permission
mkdir .ssh

chmod 700 .ssh
4. Create authorized_keys file and edit
nano .ssh/authorized_keys
5. Now switch to Putty Key Generator. Get your public key you created from Putty Key Generator. If you closed it don’t worry, follow this step:
  • Open Putty Key Generator
  • Click Load button
  • Locate your key MySSHkey.ppk from the folder you saved it
  • It will require you to enter your passphrase
  • Under Public key for pasting… you’ll see characters starting from ‘ssh-rsa’. You have to copy all of this. To do that, right click in the middle of it and click select all then right click again and click copy
6. Back to the Putty console again and paste the key. Right click in the middle of the console and the key will be pasted. Be careful not to type any thing as it will not work.
7. Save it by pressing ctrl+o and ctrl+x to exit
8. Restrict the permissions of the authorized_keys file
chmod 600 .ssh/authorized_keys
9. Open a new session on your Putty and open your server. It should login automatically.
* Please remember that auto-login will only work if Peagent is running and your key is added to it.
Ubuntu: Delete (remove) a user on Linux Ubuntu server. Before starting to this tutorial, you should be on root user first. Now do the following command:
userdel demo
Or if you want to remove the user files then use command:
userdel -r demo
If the user has root privileges, you may wish to remove it.
visudo
Find the following code
# User privilege specification
root ALL=(ALL:ALL) ALL
demo ALL=(ALL:ALL) ALL
Remove the 3rd line. You should see only root:
# User privilege specification
root ALL=(ALL:ALL) ALL
Save the changes by pressing ctrl+o and exit ctrl+x
Copyright © 2012 My Linux Code